
/blog
9/211/25
+
*
*
+
From Foiling to Embossing: How Print Finishing Techniques Work - and What They Do for Your Packaging

Alex Green
Category
Craft & Finish
Read time
2 minutes
Updated
Apr 27, 2026

The difference between packaging that looks professional and packaging that looks premium is almost always in the finishing. Print is one thing; what you do to the printed surface - the laminates, the foils, the embossing, the cutting - is what separates a box from an experience.
Understanding what these techniques are, how they work, and what they cost is one of the most useful things an independent brand can do. It demystifies the process, helps you brief suppliers more effectively, and stops you making decisions based on guesswork. Here's a plain-English guide to the main finishing techniques and what they actually do.
Hot foil stamping
Hot foil stamping - usually just called foiling - is the process of applying a metallic or pigmented foil to a surface using heat and pressure. A metal die (a custom stamp in the shape of your design) presses a roll of foil onto the substrate at high temperature, bonding it permanently to the surface and releasing the carrier film.

The result is the distinctive reflective, metallic quality you see on premium packaging, greeting cards, and book covers. Gold and silver are the most common, but foil comes in an enormous range of colours and finishes - holographic, rose gold, copper, matt black, and more.
Foiling adds cost because it requires tooling (the die) and an additional production pass, but it is one of the most effective techniques for communicating quality. It catches light, demands attention, and is difficult to replicate cheaply. When a product is positioned as a premium or gift item, foiling is often the single most impactful finishing decision you can make.
For tight-register foiling - where the foil has to land in precise alignment with intricate printed detail - the production tolerances are demanding. This is skilled work, and it's where the difference between a good supplier and an average one becomes very visible.
Embossing and debossing
Embossing raises an area of the substrate above the surface; debossing presses it below. Both use custom dies and pressure to create a three-dimensional effect in the material itself. No ink, no foil - just the physical deformation of the board or paper.

Embossed logos, patterns, and text create a tactile quality that print alone cannot produce. When someone picks up a box with an embossed logo, they feel the brand before they consciously register it. That physical engagement is powerful, and it's why embossing is common on premium cosmetics, chocolate, spirits, and gift packaging.
Embossing can be combined with foiling - a technique called foil embossing - where a metallic or pigmented foil is applied at the same time as the emboss is created. The result is both visually striking and tactilely distinctive.
Lamination
Lamination is the application of a thin film to the printed surface of your packaging. It protects the print, adds structural rigidity to thinner stocks, and - most importantly - determines the surface feel and sheen of the finished piece.

Gloss laminate produces a high-shine, reflective surface. It makes colours appear more saturated and vivid. It's the default choice for packaging where visual impact is the priority.
Matt laminate produces a flat, non-reflective surface. It reads as more considered and refined - popular in premium skincare, food, and lifestyle brands. Matt laminates absorb light rather than reflecting it, which gives them a quiet confidence that gloss can't replicate.
Soft-touch laminate is a variant of matt lamination with a velvety, tactile surface. It's more expensive than standard matt, but the hand-feel is extraordinary - smooth, slightly resistive, immediately communicating quality to anyone who touches the packaging. If your product relies on the unboxing experience, soft-touch is worth serious consideration.
Silk laminate sits between gloss and matt - a low sheen that renders colours accurately without the high reflectivity of full gloss. It's a solid all-purpose choice for packaging that doesn't need to lean heavily in either direction.
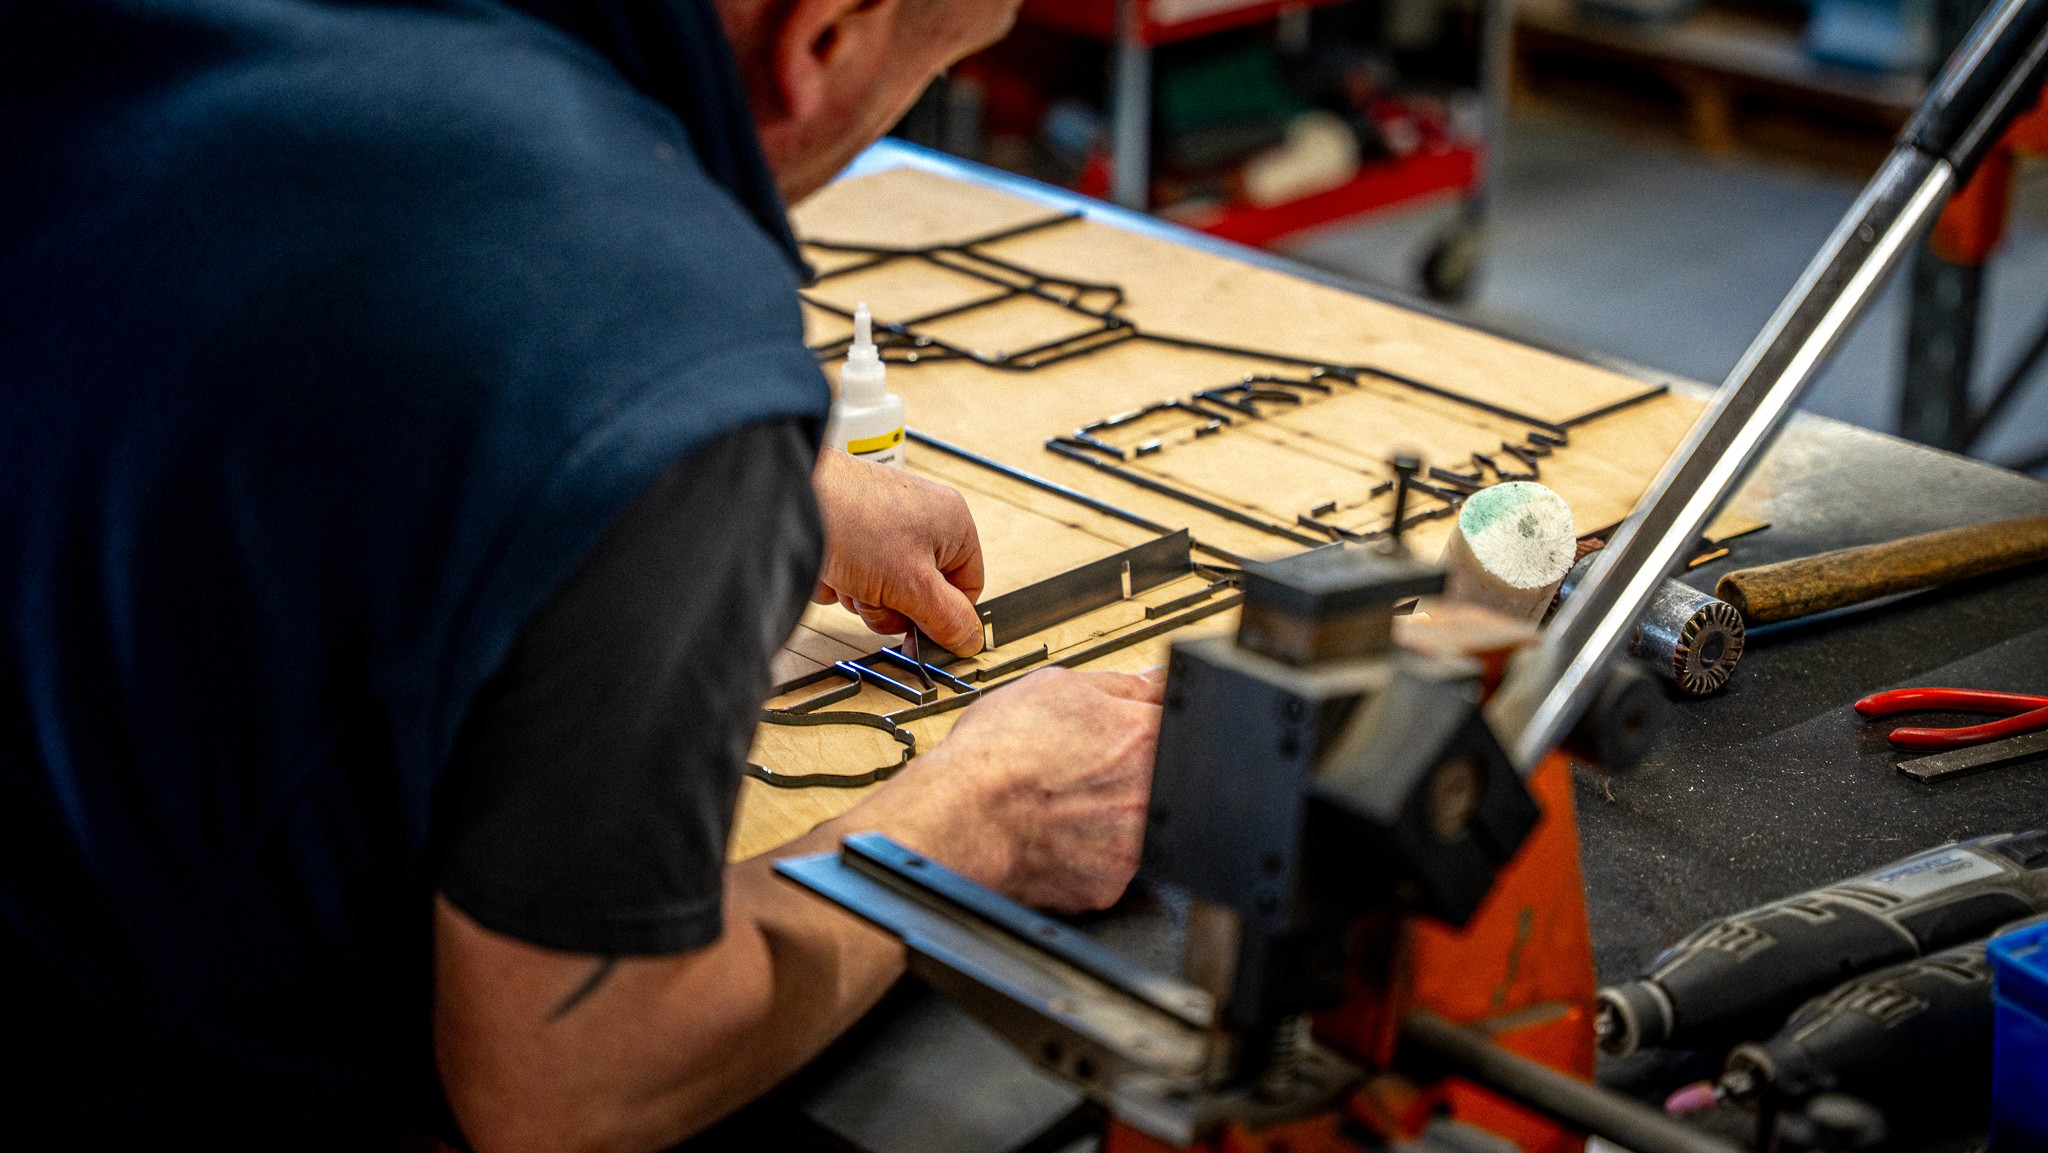
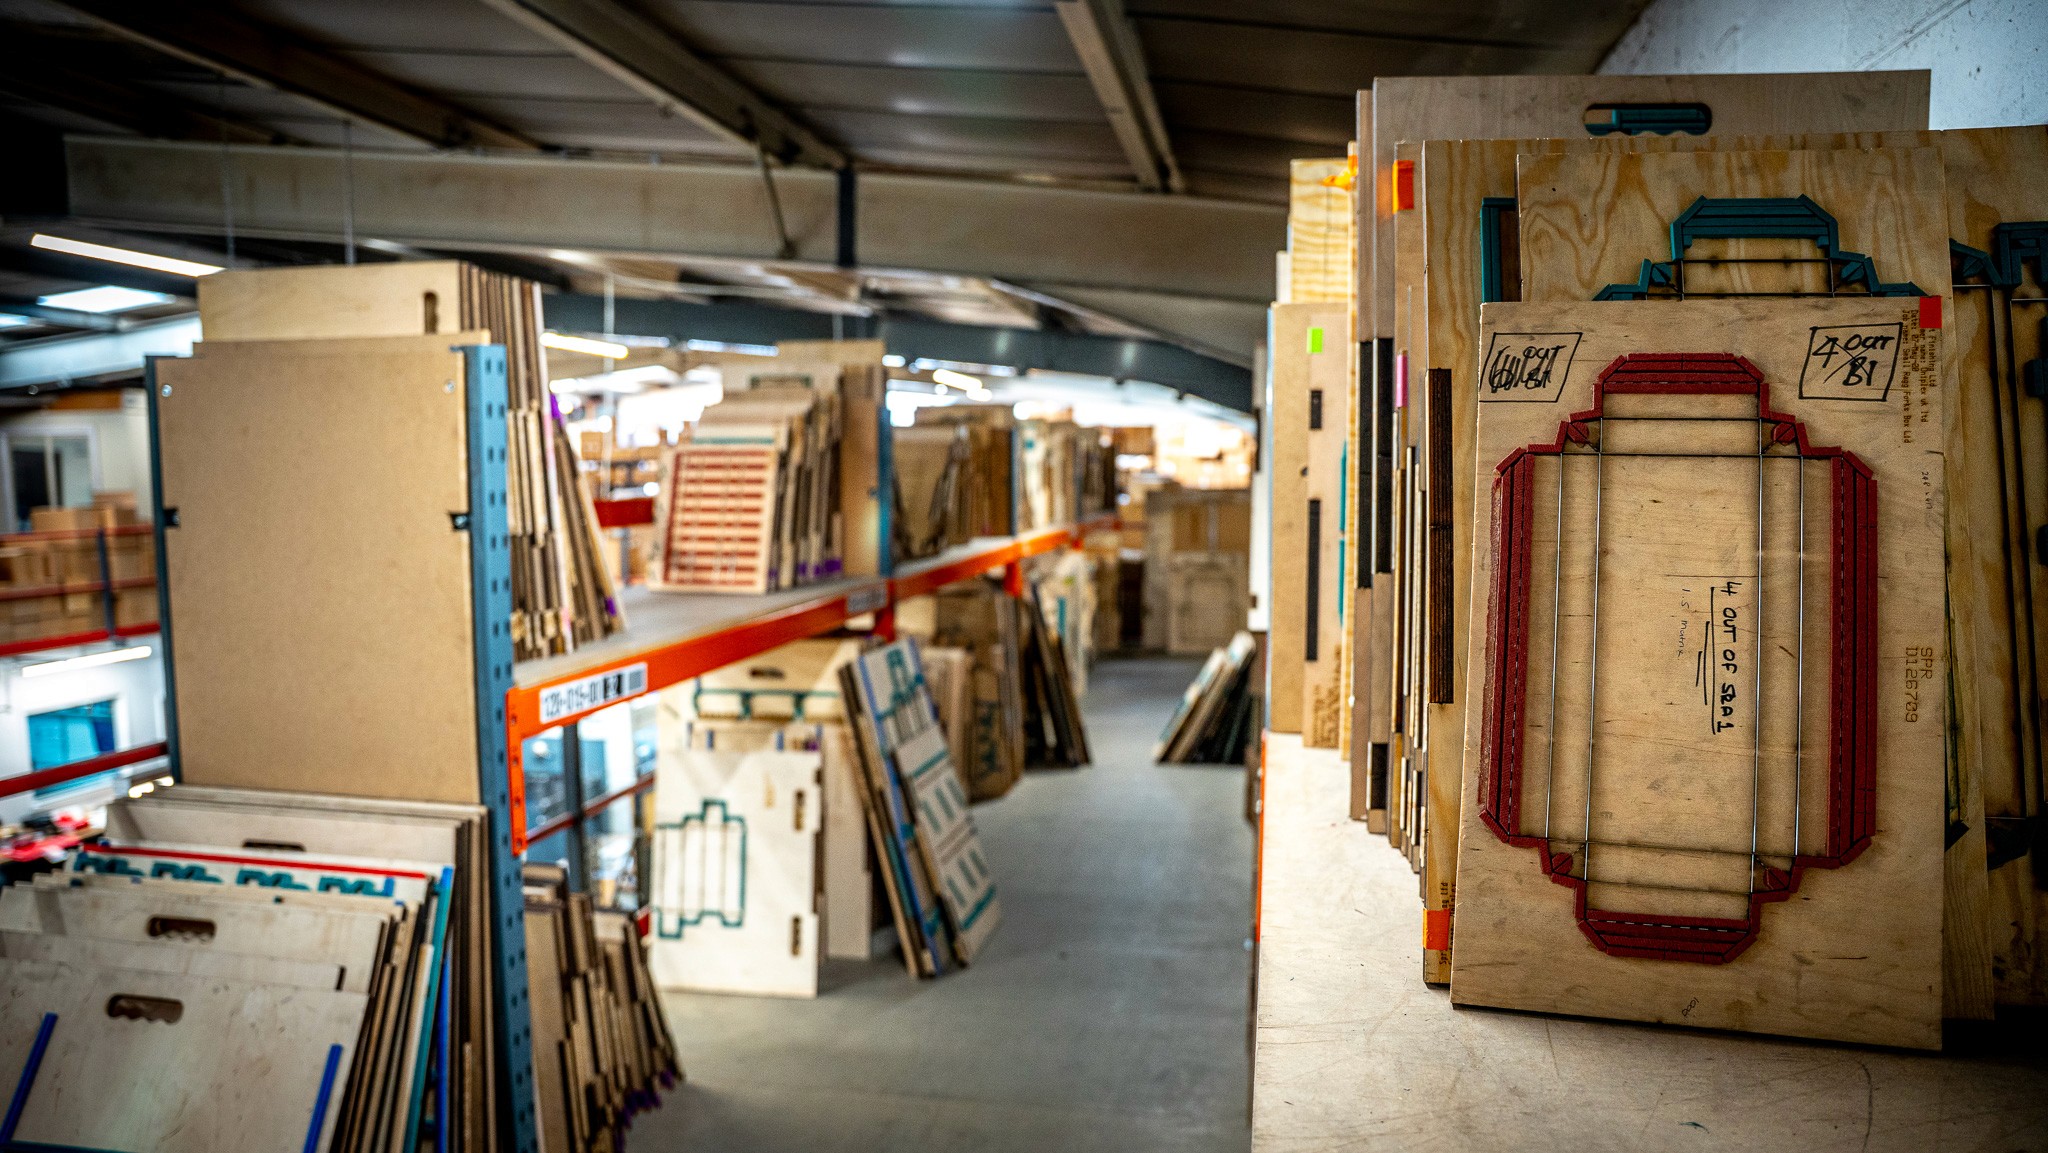
Die cutting
Die cutting uses a custom blade tool - the die - to cut the packaging substrate into precise shapes. Most packaging involves die cutting at some level, even if only to produce the box blank that gets folded and glued.
But die cutting becomes a finishing technique when it's used creatively: to cut windows into packaging, to create unusual box structures, to produce shapes that would be impossible with straight cuts.

A die-cut window is one of the most effective ways to show a product inside its packaging. It creates transparency - literally - at the point of sale, inviting the customer to see what they're buying. For food, cosmetics, candles, and gifts, a well-placed window cut can be the difference between a browser stopping and moving on.
Custom die cutting requires tooling - the blade die - which is a fixed cost at the start of a production run. This tooling cost is amortised across the run, so it affects unit economics more significantly at lower volumes.
Combining techniques
The most effective packaging often combines multiple techniques. A heavyweight textured stock, printed in full colour, with a matt laminate, a foiled logo in tight register, and a die-cut window is a fundamentally different object to a plain printed box. Each element reinforces the others. The foil catches light against the matt surface. The texture of the stock is perceptible through the laminate. The window frames the product inside.

None of these techniques need to be used in combination, and many excellent packaging jobs use just one or two. But understanding what each contributes allows you to make informed decisions about where your budget is best spent.
How to decide what's right for you
Start with your brand positioning and your customer. What do you want them to feel when they pick up your packaging? Premium and restrained? Bold and tactile? Playful and colourful? The right finishing choices follow from those answers, not from a list of options.
Then consider your price point. Premium finishing adds cost, and that cost needs to sit comfortably within your margin structure. A product selling at £8 probably can't support the same finishing investment as one selling at £45. That's not a reason to avoid finishing - it's a reason to choose carefully.
Talk to your supplier about what's achievable at your quantity and budget. A good finishing specialist will tell you where the money is best spent, not just sell you every available option.
The right finishing choice isn't the most expensive one. It's the one that does the most for your specific product and brand.
Sprint Finishing works with brands at every stage - from first runs of a few hundred units right up to hundreds of thousands. Everything needed to prototype and mock up your packaging is in-house, so you can see and feel exactly what you're getting before a full run is committed to. And the conversation always starts in the same place: not with specs and quantities, but with how the right packaging will benefit your product and your business. If that sounds like the kind of supplier you've been looking for, get in touch.
Alex Green
Production Administrator


